Once you have mastered the basic skills it is time to move on and begin practicing intermediate mountain bike skills. These skills will take your riding to the next level. You will have more fun once you get good at them. Finally you may be able to start competing once you have mastered them. Take a look below.
1. How To Pump
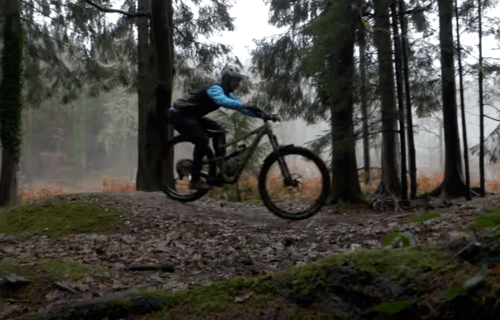
I chose pumping your mountain bike as the first intermediate skill because it requires the least amount of body movement and skill. It is a good one to start with because you need to start making your mtb do what you want it to do instead of passively sitting on your bike.
You will be able to build up speed and maintain it by pumping. This will make your ride smoother and more efficient. You will use this skill when you roll up and down small hills.
When you are actively pumping you are creating pressure and then releasing it to go forward.
You want to stand tall and then get small as you ride to build and release pressure. First push into the bike to build pressure. Then absorb the bike to release pressure.
Use passive pumping to manage the pressure. Let your arms and legs bend to absorb the terrain. Imagine your arms and legs are shock absorbers.
Make sure your upper body is still. When there is a dip in the trail take advantage of that by pushing your bike down at that time to build up pressure.
Then bend your arms and legs and let the your bike move over the rises on the trails. By learning to pump this will later help you to learn to jump. You can also generate momentum by pumping over roots, rocks, and rises.
You are using your bodyweight to keep your bike moving forward without needing to pedal.
2. Front Wheel Lift
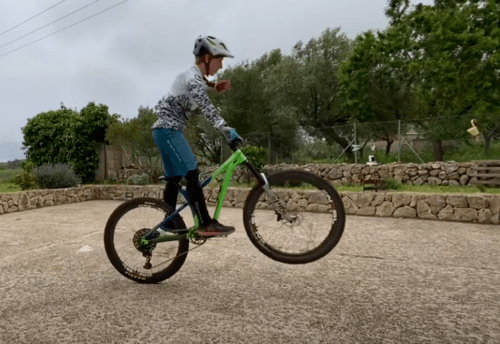
The front wheel lift is important for intermediate riders to know because it is the first time you will take your mountain bike up off the ground. Getting good at this skill will help you with other intermediate skills as you will see.
When riding over rocks, roots, and small obstacles you will need to use the front wheel lift. This will help you to ride with more finesse on the trails.
First you want to coast smoothly and keep your pedals level. Then stomp your feet downward to load the bike with pressure.
Next when your bike springs up, bring the front wheel up with you. You are basically loading the bike and then exploding up the front wheel.
The next front wheel lift is a manual wheel lift. This lift is more dynamic. First you coast on your mountain bike at a jogging pace while keeping your pedals level.
Next stomp your feet down to load the bike and then push your weight back. As you do this at the same time straighten your arms and legs.
Your arms and your weight will bring the front wheel up. Your legs will push the rear wheel forward helping you to scoop up the front wheel into the air. Be sure your butt is behind the saddle and over the rear axle. Don’t pull up with your arms, let your weight do the work.
3. Bunny Hop
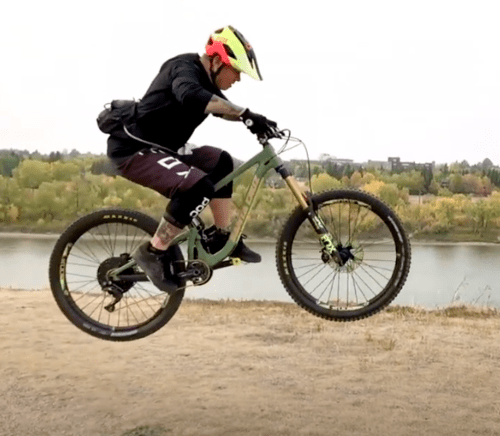
The bunny hop is a good skill to know so you can hop over rocks, and small obstacles instead of riding over them. If you ride over them, then you have to absorb the impact.
The bunny hop is a combination of two skills, the manual wheel lift and the rear wheel lift. When you put them together you have a bunny hop.
When you are at the height of your manual front wheel lift, spring up from both feet and keep your chest up.
Then bring the rear wheel with you by clawing and scooping it up from behind you. Be sure to push the bars forward to level the bike. Try to land on both wheels at the same time.
Make sure to use your pedals to claw and scoop the rear wheel up. To give your bike space extend your body upward. Think of sucking your bike up into you.
4. Intermediate Mountain Bike Jumping
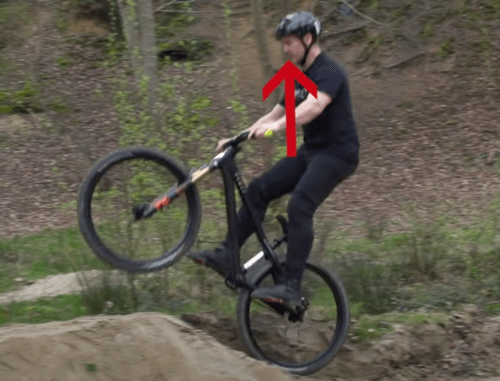
Once you know the bunny hop the next step is jumping. Jumping is fun and you can show off to your friends.
Before you start jumping the jump you should inspect it so there are no surprises. It is a good idea to begin by just walking the jump so you can see close up what is there.
You can observe what kind of incline the jump is, and how steep the drop off is. Then using your mountain bike, just roll over the jump. Absorb the lip with your legs and take it slow at first.
Increase the speed that you approach the jump gradually at first. First approach the jump in a neutral position.
After the approach press your feet evenly into your pedals. Make sure to keep the pressure even between the front and back wheels.
As your front wheel gets to the lip of the jump, let your arms and legs relax. Let the bike unweight. Be sure to stay relaxed and centered over the bike.
Straighten your arms and legs slightly as you prepare to land. Then absorb the landing by bending your arms and legs on impact.
Be sure to stay relaxed and don’t freeze. Don’t let your weight go back too far. Different jumps require different amounts of pressure, body position, timing, and speed. This will get easier as you experience various types of jumps.
Remember, if it is a new jump, be sure to walk the jump first.
5. Roll Down
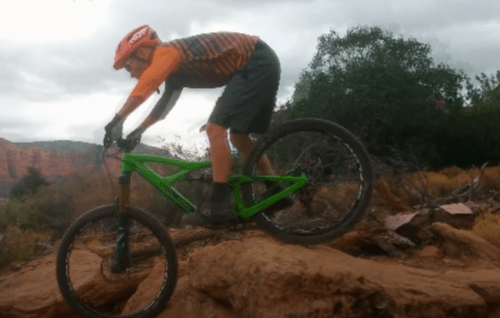
Rolling down obstacles is the first skill you need to learn which will lead to drop offs. Before you start make sure you take a look at the obstacle before you ride it.
Begin by keeping your pedals level and your arms and legs neutral. You can move slightly forward in your saddle to look at where you want to go.
Push your bars down forward and evenly. This is called looking and pushing.
Return to a centered position in order to prepare for your landing.
6. Drop Offs
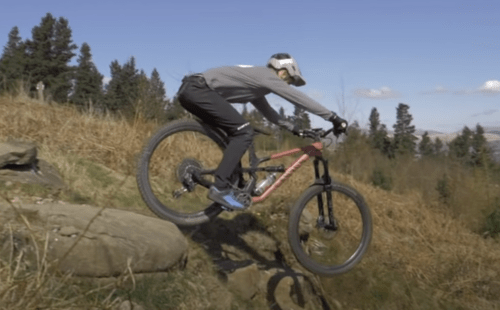
For drop offs begin your approach in a neutral position. Commit yourself to no braking and no pedaling. You should be coasting.
Gradually load your mountain bike before your front wheel leaves the drop. In order to match the angle of the landing lead the bike forward by pushing the bars ahead.
Bend your legs in order to absorb the rear wheel. While you are in the air come back to the center position.
Try to land on both wheels evenly. Keep your chin over the stem and your butt over the saddle.
Remember all drops are different because they are at different heights. They require various amounts of pre-load, body position, speed and timing.
Use caution your first time and before you ride it, you should walk it.
7. Rock Gardens
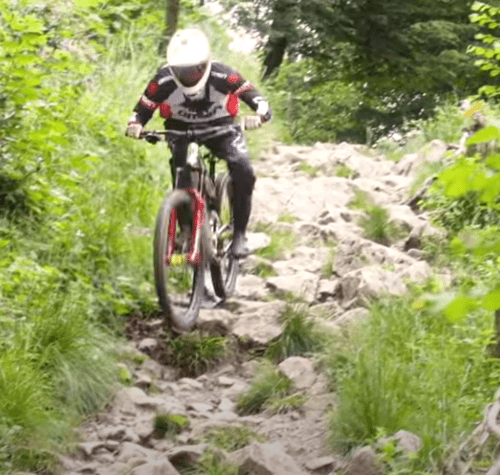
Being able to float through rock gardens without crashing is an important intermediate skill because you will come across them more often than you think.
All rock gardens are different so you want to walk it before you ride it. As you are walking it you can find the best line to ride through. Try to find the straightest line that your mtb can roll through smoothly.
Be sure to avoid areas of low traction, rough edges, and diagonal rocks and roots. It is a good idea to visualize where you will ride first.
When you come to bigger rocks you will be rolling down them or dropping off them. Pay attention to visual signs that will keep you on line.
Approach the rock garden in a neutral position and spot your line. Then keep your wheels rolling and adjust your speed if you need to.
Be sure to keep your wheels unlocked because your suspension works best this way. Let your mountain bike move up and down, forward and back, and side to side.
Keep your eyes open on the trail for the next obstacle ahead of you. Maintain a centered balanced position and don’t let yourself get sucked into the back seat.
8. How To Ride Berms
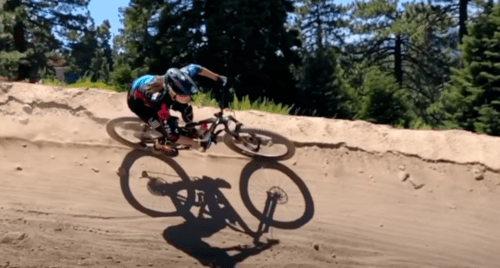
It is important to know how to ride through berms with balance and speed. Berms are the same as trails except these trails are turned on their sides. They are also called banked turns.
Berms are fun to ride and will increase your flow when riding. When you are first starting berms can be intimidating, but once you master this intermediate skill you will love them.
Maintaining traction and control when ripping through berms is what is most important.
First you should approach the berm in a neutral position. Then choose your line and maintain it through the berm.
You will have less traction if you stay low and inside the berm. So be sure you are outside and high on the berm. This way you will have more traction, but you will need more speed to do this.
As you and your wheels enter the berm look through to the exit of the berm. Be sure to rotate into the turn, and keep your butt to the berm.
To increase traction while riding the berm apply even downward pressure through your pedals and butt.
As you leave the berm, stand tall in a neutral position. Remember to increase traction lower your center of gravity.
Stay centered and don’t lean back. Try to exit the berm faster than you entered it.
9. Switchbacks
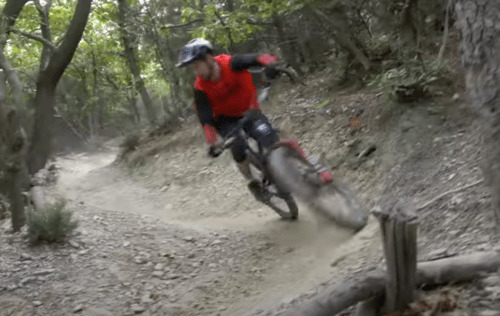
This last intermediate mountain biking skill is a little more advanced. I want to challenge you. This skill is on the edge of becoming advanced and intermediate.
A switchback is a flat no berm 180 degree turn on a trail. Switchbacks come in different shapes and sizes. You can go up switchbacks and you can go down switchbacks.
For this skill we will go down the switchback. First approach the switchback in a neutral position and keep your pedals level.
Scan the switchback and mentally decide the line you want to ride. Keeps your turns wider by steering towards the outside of the corner.
To brace yourself and increase stability drop your heels. Keep your chin over your stem and your arms bent.
Be sure to look ahead to the exit of each turn. Lean the bike into the turn with your arms while turning the wheel.
Point your knees straight ahead and rotate your hips and chest. Make sure your entire body is facing where you want to go.
I hope the above explanation of these intermediate mountain biking skills has been helpful. With practice and repetition your skills will improve more and more.
Related
Mountain biking for beginners 22 Tips and Mistakes
13 tips to improve your downhill mountain biking
17 ways to improve your mountain biking in the rain
